Preview

Step 1
Open the photo to be used. Below is a photo of James and Chalmers of Miami Heat which we will use in this tutorial.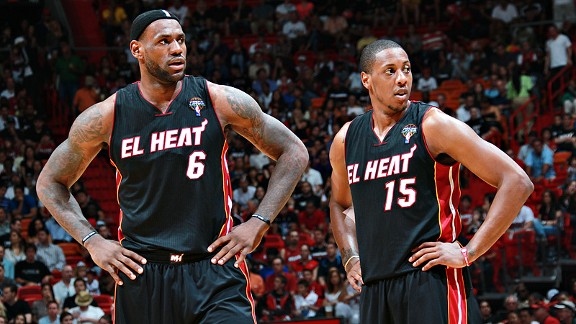
Step 2
Duplicate the Background layer, then select the face of Chalmers or James (whichever) first via the Lasso Tool (or any of the selection tools). Copy and paste when done. Do the same thing for the second. After hitting "Paste" (Edit>Paste...) the first time, a new layer named Layer 1 is created in you layers panel. Rename this to "Chalmers" so you can remember which face was copied. As for James, Layer 2 is created, so rename this to "James".

Step 3
Apply Layer Mask to both "James" and "Chalmers" layers and, using a small, soft brush, 50% Opacity, brush around the selected faces to remove rough edges or unnecessary parts on the image.

Step 4
After fixing the rough edges, you may apply some adjustments to the color and contrast to the skin to look realistic. At some instances, depending on the photo used, you may also need the Dodge, Burn, and Clone Tools. Like the final image below, I applied the Curves adjustments to make the contrast better.

No comments:
Post a Comment